Showing posts with label frostgrave. Show all posts

Friday, February 6, 2026

Simple Foamcore Farm Houses

 Sometimes you just need some quick and decent looking terrain. 

 Scenario 4 of Stargrave Hope Eternal campaign is set on a world far out in the boonies of the galaxy, and as such is a little lacking in tech. The settlement is described in the book as being a combination of prefab structures, homes made from locally available materials, and one tower made from a recycled fuel pod. You need between 6-10 structures for the scenario. I own 2 small 3D printed prefab huts and so need at least 4 more structures, one of which needs to be a tower, so I need to make at least 3 houses. The game is played on a 3'x3' board, but the village needs to be at least 8" away from any board edge so none of these should be very big...

 Keeping the size manageable had me laying out a couple of different size bits of paper on the board, and placing some minis in and around them. 2"x3" was tiny, and 4"x6" was too big, but a 3"x5" note card felt just about perfect. Big enough for a full sized door and a couple of windows, but not so big that they'd dominate the table.  

 Not wanting to spend a lot of time or money on them, I grabbed a scrap of foam core that I'd been saving, and got to measuring. Prior experience reminded me that I couldn't just cut out 3" and 5" wall sections because then the footprint would be too big. I opted to trim the long edges by the thickness of the foam core so that the walls would fit neatly on the 3x5 piece that would serve as the base/floor of the huts. 

I kept the height of the walls at 2" knowing the roof would greatly increase the height of the finished builds. I measured out the doors and windows using a 1" square base, then cut them all out. I opted for one door for each building, and 3 windows. 

I turned on my glue gun to get it hot, then I pulled out some aluminum foil, rolled it into a ball, and rolled it all over the exterior sides of the walls and the floor. It really is a fantastic way to add texture to cheap foam core. Once done, it was time to get gluing. 


Not perfect. My measurements were not exact, but close enough. I do like how it's possible to shoot through a building. Then it was time to grab the cardboard recycling and dig out a cardstock box and start cutting thin strips. I was actually more careful with this part than I was cutting the foam.  I framed out the corners and all the windows and doors. 


 All told this was about 2 hours worth of work. I then brought it down to my painting desk and slapped on a heavy coat of mod podge mixed with black craft paint, and once dry, followed that up with a heavy drybrush of antique white.


 I was unsure at this point whether I wanted to paint the interior walls or tint the exterior... I decided to try tinting the exterior using just a tint bit of watered down speedpaint.


 And then onto the roof! My original plan was a standard sloped roof, but my cousin suggested an asymmetrical gable with offset ridge, so that it might look a little less average medieval fantasy 


Once I had the foamcore frame I used cardstock to make the roof, and then started cutting and gluing the shingles... This was a pain to do, and messy.  


I was finally reminded that you can do whole strips and it's a much easier process! Also less messy with the glue and looks neater. It was almost enough to make me redo the other 2... almost.  

Then it was time to put a hole in the roofs for the chimney pipes. These were made from the tubes inside dog poop bag rolls. I also added some trim to the gables under the roof line.  

 Then it was back to the mod podge, and onto painting! The gables were painted just like the walls with antique white and the zealot yellow speed paint, with the brown for the trim.


 The roof was done with a sponge leftover from a mini blister pack and a soft blue craft paint, with a gentle dry brush of antique white to give them some highlights. 


Overall, these are great. Not perfect, by any stretch of the imagination, but solid looking and usable for the games I want them for. I still want to make little HCAV units to fit over the chimney pipes, but that's going to be its own little project. For now, it's onto the fuel pod tower!

The kid decided the houses needed a little something extra, so they all got some stickers. 


 And credit where credit is due, a hefty dose of inspiration came from this video. 

Saturday, July 27, 2024

Making Mirkwood Trees for your tabletop games

I decided a while back that what I desperately needed for my game board is enough trees to make a forest. This was a silly thought as I haven't played a tabletop game in months. Nevertheless I decided to embark on this project, and so watched a whole bunch of YouTube videos, and dug through my terrain making books, and settled on making them with aluminum foil. This decision was based in part on the fact that it was a material I had plenty of, was cheap, and easy to work with. 

Then I needed to figure out how many trees to make. I set up my playing space and pulled out my 2" bases. It took about 18 to convincingly fill a 3*3 play area. 

The final decision at this point was to decide how tall I wanted the trees. Using Sir Forscale, I settled on a 4 to 6 inch range to make the trees feel big enough, but not so large that they would totally dominate the board even if there were just a few. 
 
Please note there is nothing in this tutorial that can't be found elsewhere, but this has the advantage of not being a video!

It was time to start making the trees. I pulled out sheets of foil and started wrapping. 
 

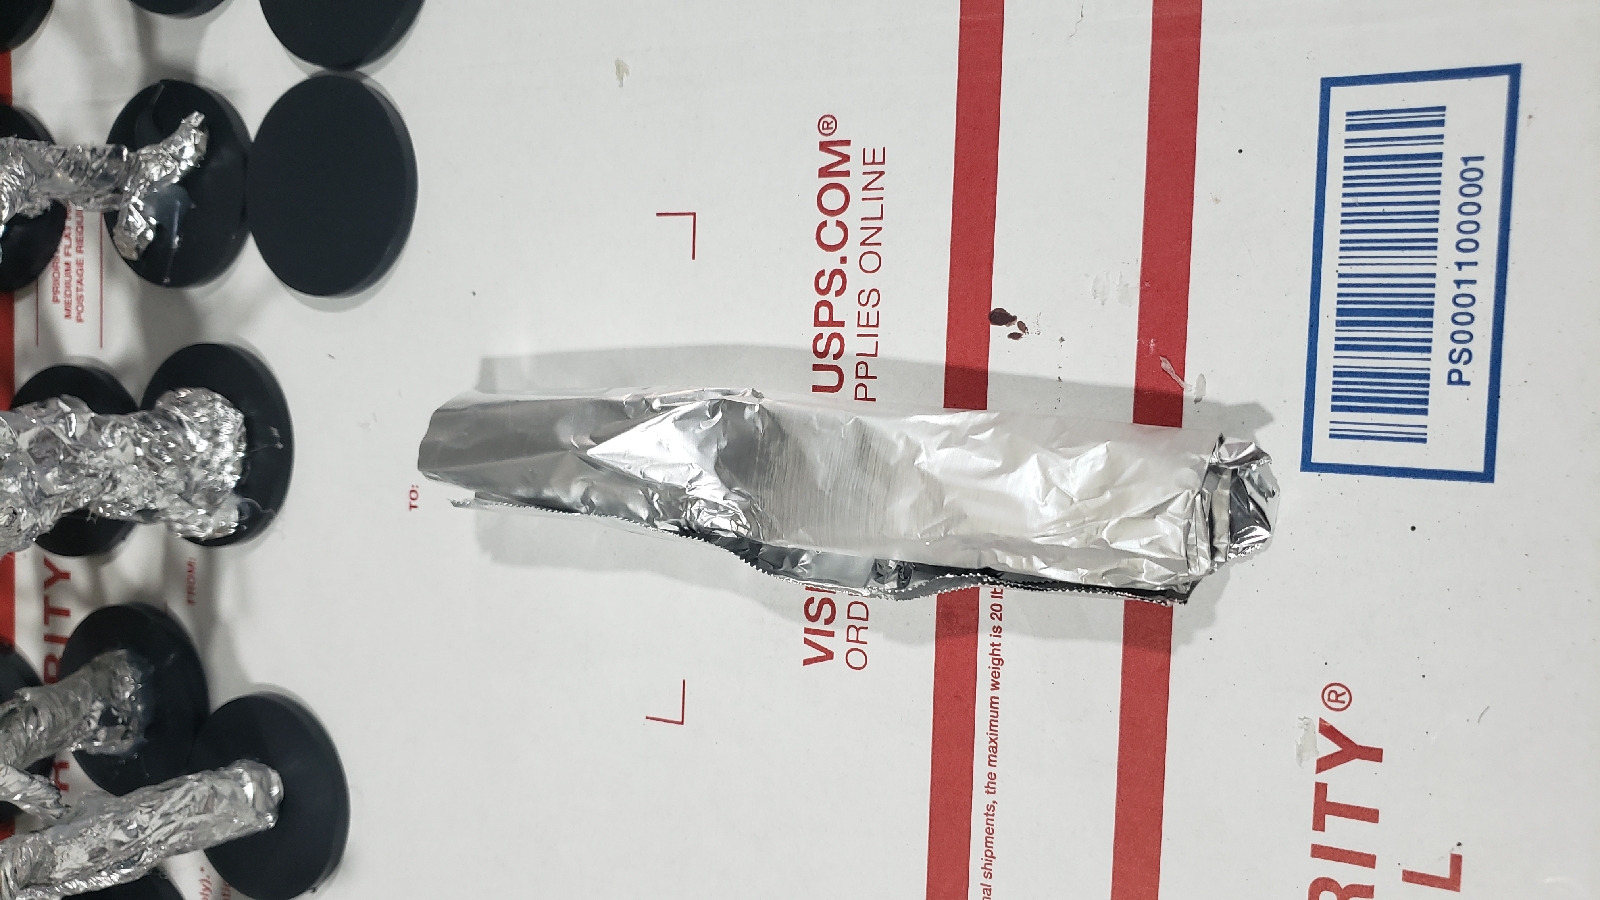
I started with about a 14-16 inch long piece of foil, which I then folded...


And started wrapping. Why 14-16 inches? Because as I twist the foil, it gets smaller, so that by the time I'm done the tree fits in the 4-6 inch total height that I was looking for.


Then I'd take another sheet and wrap it around the first to bulk up the trunk, and start to make the branches (not pictured). I then used hot glue to stick it to a 2" base. Sometimes I'd stick the second sheet of foil in the folds of the main trunk before I did the wrapping. Honestly, there was a lot of experimentation in making these, which resulted in a lot of different tree shapes. 

The nice thing about working with foil like this, is that if a spot needed bulking out, or filled in, or whatever, it was easy enough to take an extra bit of foil and wrap, stuff, and glue it where it needed to go.
 
 
I then took a sheet of foil and made one long roll, and cut it into small pieces to serve as roots, and glued them to the trees and bases.  Some roots were small, but I made some really twisty and large. After that, I used the glue gun to put a layer of hot glue all over the trees, both to seal the foil and to make some texture. I missed some spots, and others ended up smoother than I'd have liked, but the variety makes for a more interesting, and even more realistic set of trees. 


Then it was time to paint. I mixed black craft paint with Mod Podge and gave every tree a thick coat. Then I went back and gave them a second coat, cause some spots didn't cover the first time. 
 
 
Then I realized I forgot to texture the bases. So I did that, using a mix of sand and gravel. Then painted the bases with the same mod podge and paint mix. If I am ever to add more trees to my forest, or make another one, I'll remember to add the ground cover before I prime them.
 
 
Then it was time to add some real color. I started with a heavy brush of craft smart (Michaels brand) chocolate brown, followed by a nutmeg brown, and then a dry brush of antique white.  
 
 
You'll note I didn't make any smaller branches. My initial plan was to add foliage to these trees, so I only needed the main branches to hold it. You'd never see the smaller ones. 
 

But once I was done, I started to think that they look good like this. And maybe they'd work better as dead spooky mirkwood style trees. While I was still deciding on the foliage, I used some green and purple paints to splotch on some color. and gave the trees another final dry brush of the antique white. The green and purple are only a little noticeable if you're really looking for it, but it adds some more visual depth to the trees that made the effort worth it.

 
You have to admit this looks pretty good. The bark texture is way overstated and looks delightfully diseased. This is not a healthy forest by any stretch of the imagination.

The trees are wonderfully flexible. I can dump the lot of the from the table to the floor and they're going to bounce. My toddler can manhandle them, and they survive just fine. The biggest danger is them popping off the bases, but you have to work really hard to make that happen. 

I do think I'll do 1 or 2 more "character" type trees. I'm especially thinking about one tree growing over a dungeon entrance, maybe a gulthias tree? And the other I'm thinking off is more of an evil grandmother willow type tree with a face. We'll see if and when I get around to ever making those.

Saturday, March 28, 2020

Frostgrave is FREE!

Since we're all stuck inside, Osprey and Joseph McCullough have decided to release the core rules and 2 supplements for free.


So click on over and pick it up.

Wednesday, March 27, 2019

Frostgrave Demo

I managed to talk my D&D group into giving Frostgrave a try! I decided to have them play a simple scenario, collecting magical fruit from a long lost garden. I filled a 3x3 board with a bunch of terrain, including lots of GW trees, a small graveyard. Each player got a wizard with a staff, a man at arms, thug, thief, and archer, and an individualized stack of spells. There was an illusionist, necromancer, enchanter, and witch. I had them roll off to pick their wizards, then they each placed a treasure token, then rolled again for picking table edges.


Once everyone was deployed, I added the 5th and final treasure to the center of the board, and set out 8 tree monsters who were defending the magical grove. I used the stats for Medium Constructs for them. Then they rolled for initiative, and jumped right in.


Every round each wizard tried to cast spells, but the dice were against them, I think everyone over the course of the 5 rounds we played took damage from failing to cast. The necromancer was successful in casting Raise Zombie early on, and then casting Summon Imp, but the remarkable string of failures to cast spells I have to attribute to the fact that they were all (but the necromancer) using my dice.


The number of tree monsters did limit somewhat the interactions between players, though the necromancer and witch did get into it, and the illusionist harassed the enchanter with her archer. The tree monsters were semi-effective, with one continually pushing the Witch off the wall it was trying to climb up to claim a treasure, and another that killed both a man at arms and a thief in 2:1 combat in the same turn.


By the end of the game, each team had secured a treasure, 2 were off the board, and 2 were on their way. The center treasure remained unclaimed.


Going forward everyone seems to think that a monthly game/campaign is the way to go. One really wants to play Thaw of the Lich Lord, which seems reasonable to me! I think I’ve got most of the necessary figures to do it.


Now I just need to decide what warband to bring...

Friday, February 22, 2019

More Frostgrave Plastics!

In spite of what I said I was gonna do with figuring out what figures would be most useful for Frostgrave, I ignored that and just built some more minis. It’s not like I don’t have a zillion minis to choose from anyway.

So I started by building 3 more cultists with spears, because they seem like they’ll be really useful in general. Cause cultist guards, right? I wonder if I’ll be able to get someone to trade heads for more of these skull faced guys.

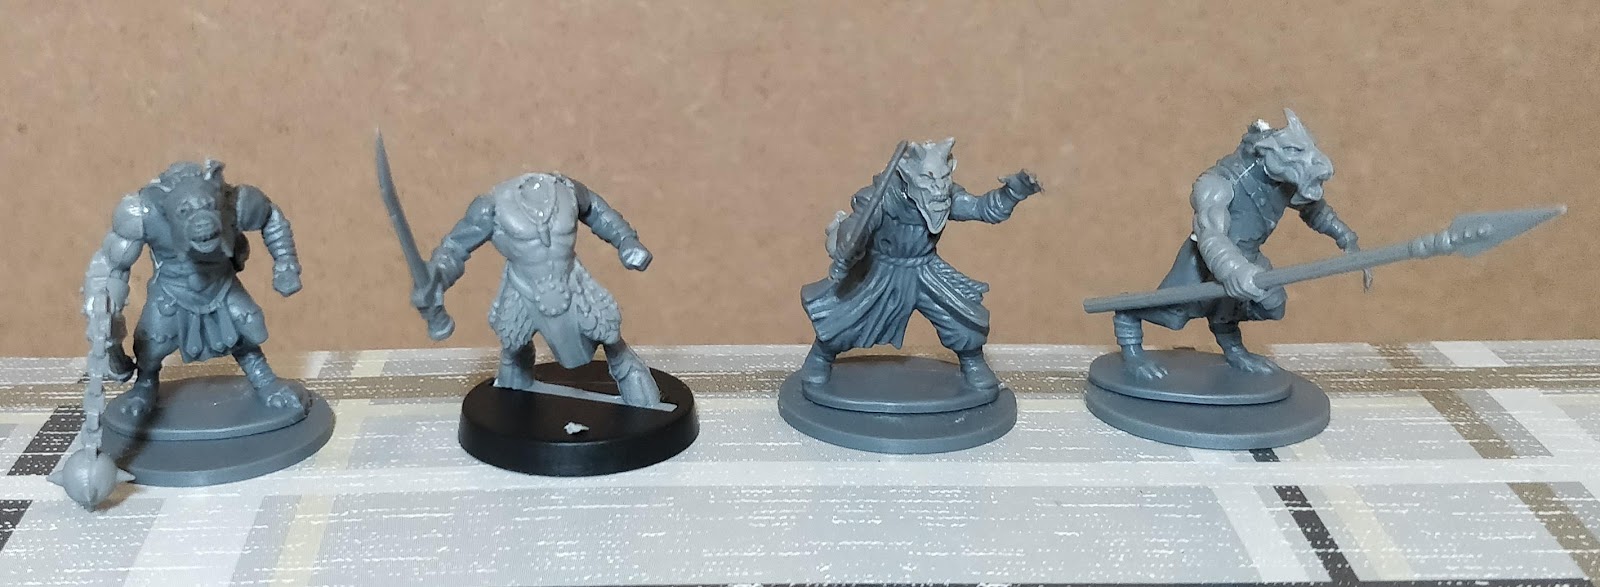
After playing with the cultists, I moved onto the gnolls. As with the previous kits, my plan was to build 5 without worrying about what works for the game… I ended up using a total of 8 gnoll bodies, using an assortment of bits from the Soldiers, Cultists, Oathmark Goblin kits, as well as a couple of GW beastmen bits. The goblin head on the gnoll body works pretty well...


I also made this dude with a staff. Not sure what he is… But the body is a cultist, the arms are from the goblin sprue, and the head and backpack are from the soldiers kit.


And speaking of the Oathmark Goblins, I put together these 5, again mixing and matching bits from the various kits. For what are basic troops, they’ve got a fair bit of personality. And while they’re called goblins, they’re really more in line with what I’d call orcs.


And then I started really having some fun, giving a gnoll body a goblin head. Gonna sculpt some more greenstuff hair on the neck, see if I can’t make him look more bugbear like… Then I gave a cultist a beastman ungor head. I think he’ll be a beastcrafter wizard or apprentice. , but looks okay, as does the ungor spear. The gor flail on the other hand looks just a little too out of scale. I’m not gonna cut it off… figure he’s a gnoll barbarian?

Friday, February 15, 2019

Frostgrave Barbarians and Cultists

Instead of watching the Superbowl, I spent the evening working on some more Frostgrave plastics. I built 5 barbarians, and 5 cultists. I should probably actually take some time to consider what rolls the minis will fulfil in the game, rather than just making something that looks cool…

This time though, I was aiming for “it looks cool.”

Starting with the barbarians, I first built the alternate captain figure with the crested head and mace that came with the Folio nickstarter. Then I made a barbarian with the Conan helmet. Amazingly the barbarian box doesn’t come with a nice 2 handed sword, and the one from the soldiers box didn’t really work. I wanted something with more action. Thankfully the gnoll box had what I needed. It only took a bit of clipping to make it work. I still need to clean up the cut, but I’m overall happy with it. There are also a couple of normal barbarians, and then the hammer guy with the Skyrim helmet.


For the cultists, I looked through the heads available, and decided that I really liked the skull faced ones. The hoods are okay, but… eh. Sadly there are only 2 of those heads per sprue, for a total of 8 heads. I built these guys using 5 of them. I’m thinking about using the remaining 3 to make 3 more spearmen. The 2 handed ax is from the Soldiers box, otherwise these guys are straight up cultists.


I still have mold line removal and cleanup to do on them before I get around to priming them. I thought about trying to do it before I built them, but it’s easier to hold them when they’re assemed. Oh, and I decided to use the disk bases they came with. I still need to figure out how I’m going to base them. Snow? Grass? Rubble? I’ll figure something out.

Friday, February 8, 2019

Frostgrave Sherwood Outlaws

I’ve been itching to assemble some plastic minis for a little while now, and with the new Frostgrave Ghost Archipelago nickstarter currently going, that’s where my thoughts have been. Going through my kits, I realized that I only had a single sprue of the original Frostgrave Soldier kit, not the whole box, like I thought. I had also picked up the Sherwood Outlaw conversion kit to make some of them into Robin Hood type bandits.So, I decided to make some outlaws…


The conversion kit ended up being a disappointment. The fit of the bits was questionable, and for some reason the heads were molded so that the connecting point to the sprue was the top of the head, not the neck. This completely ruined both the heads without hats.


The frostgrave soldier kit itself isn’t bad. There are lots of options to go along with the 5 different bodies. I wish there was a little more customizability with the bodies. Separate torso and legs would have made a lot of difference.

Probably not going to get around to painting them for a bit. I need the weather to warm up before I can spray prime them.


I’m looking forward to building some cultists next!

Monday, March 5, 2018

F:GA Crew pt. 3

Apparently I haven't posted about my crew since December... Well, I've done a lot since then.


A lot! But how did I get to finished? Well, there were a lot of steps along the way...


As you can see in the far right, my Herator originally had a green coat. I hated it though, so I went to red. I thought about blue, but since the Warden was mostly blue already...


I kept the color palet simple. Muddy Olive green, Oceanic Blue, and Heraldic Red were the basic colors. Skin was done mostly with Tanned Leather. Keeping these colors consistent throughout helped make for a unified look for the crew. The hats helped too.


I did play a bit with the accessories. One guy got a backpack, another a belt pouch, a knife, and one a length of rope. The backpack I had to paint on straps.


I'm super pleased with how her face came out, and I love how the blue looks!


But do I ever dislike the fact that she's sculpted with a quiver. If I felt a little more confident, I might have cut off the arrows and turned it into some sort of scroll case.


I'm less pleased with her fact, but I think it ended up okay.


The highlights are a little cartoonish, but they pass the 3' test really well.


Total Minis Painted This Year: 21